In the web browser on the host machine, go to https://localhost:8443/new to see the new Redis Enterprise Software Cluster Manager UI. The cluster generates self-signed TLS certificates to secure the connection. These self-signed certificates are unknown to the browser and must be accepted before you proceed.
To use the legacy UI for this quickstart instead, see the 6.4 version of the quickstarts.
Note:- If the server does not show the login screen, try again after a few minutes.
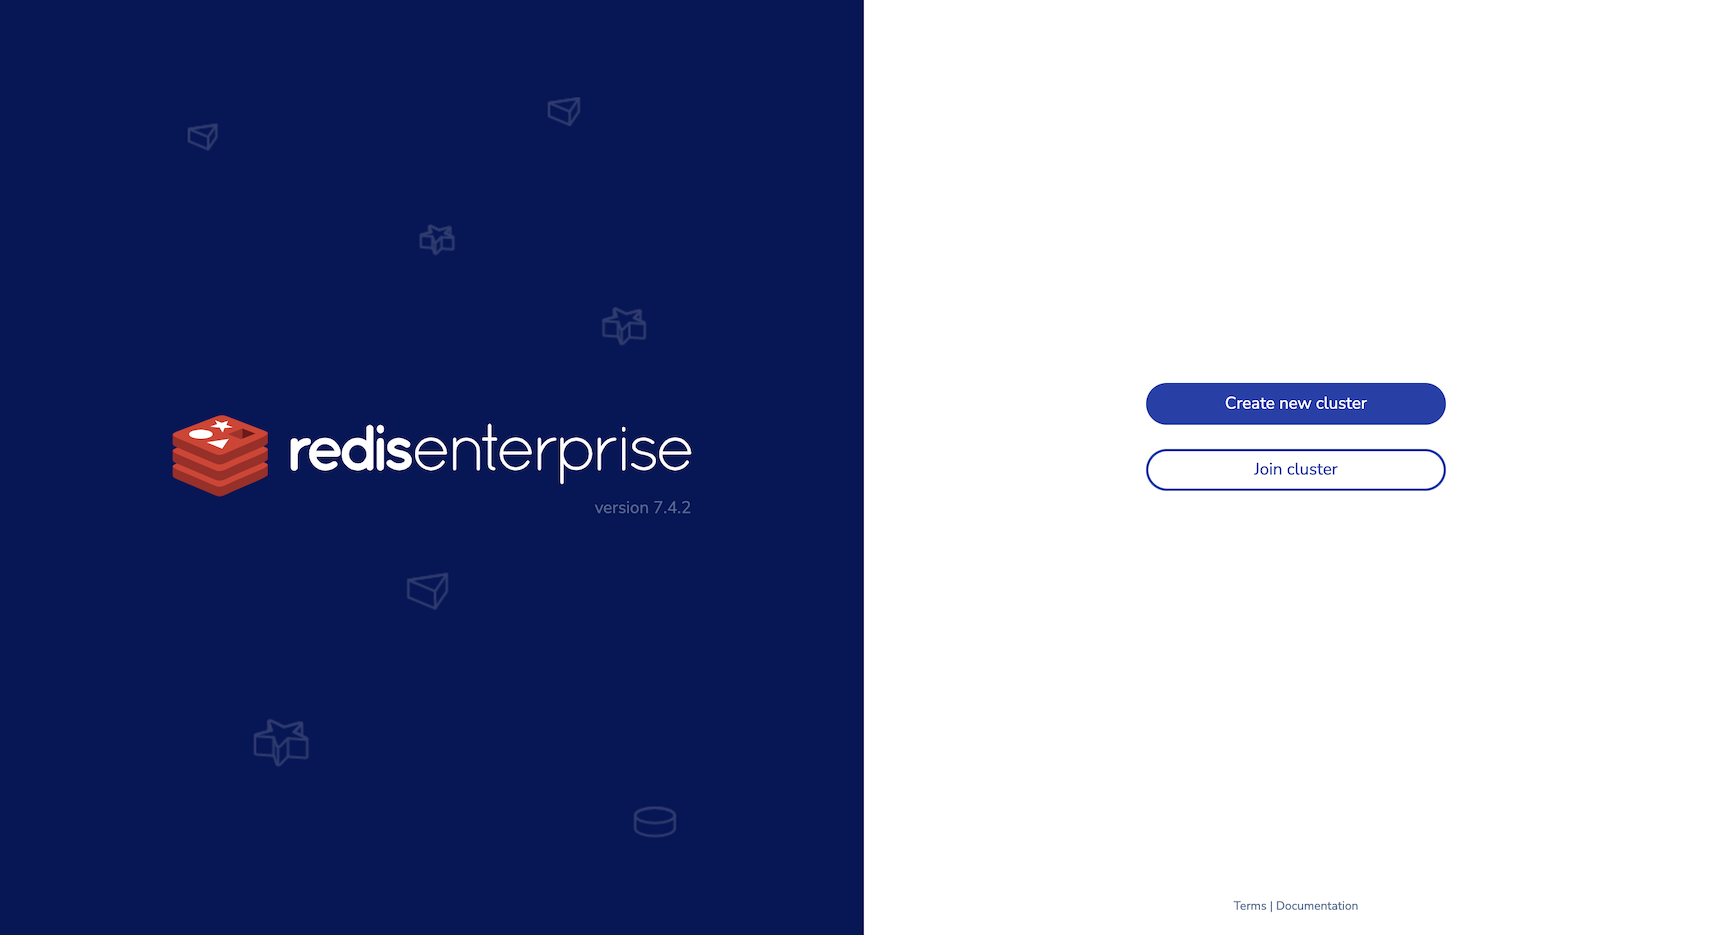
Select Create new cluster.
Enter an email and password for the administrator account, then select Next to proceed to cluster setup.
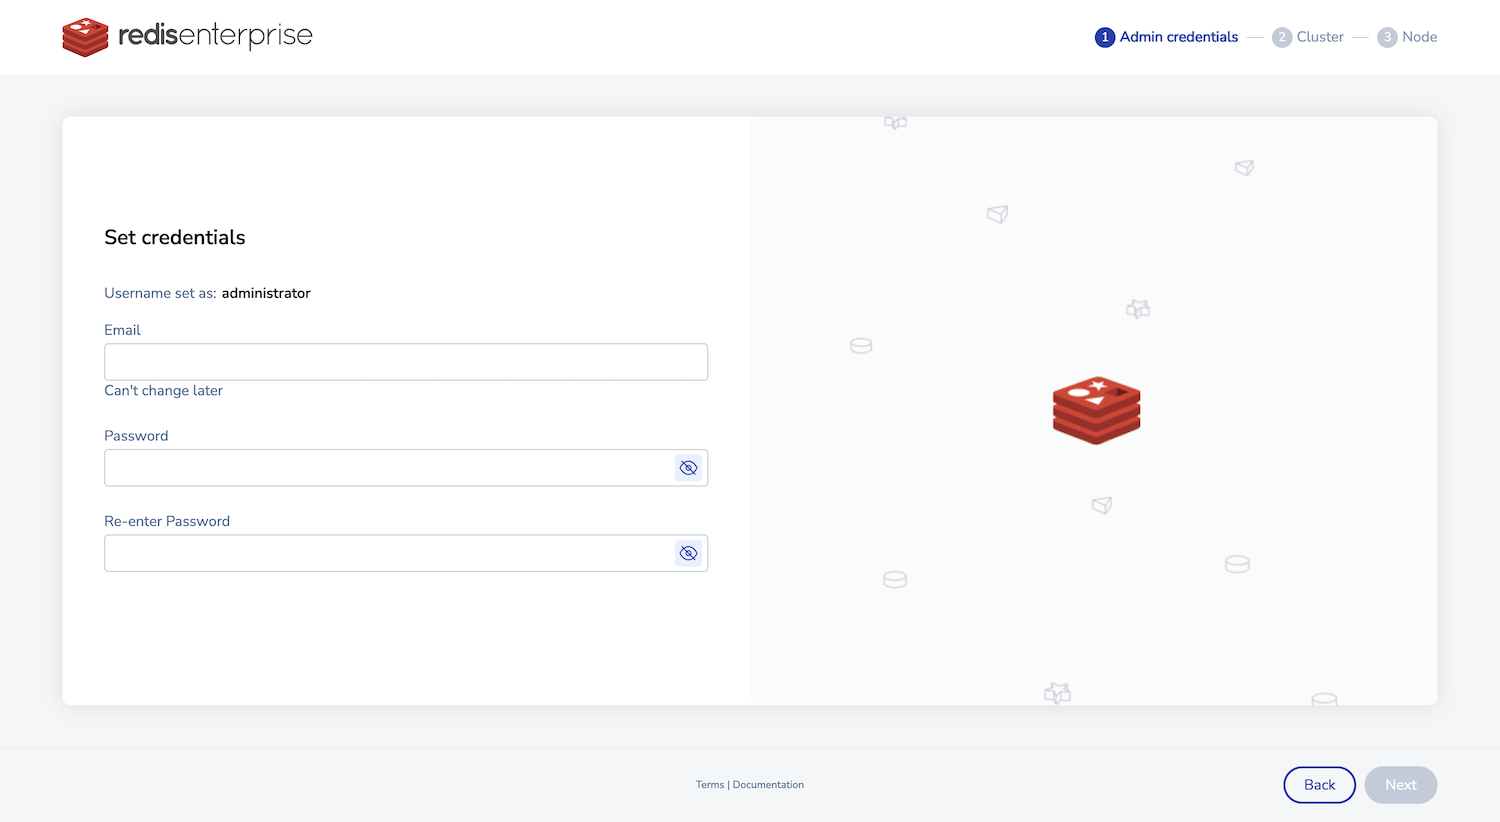
You can also use these credentials to connect to the REST API.
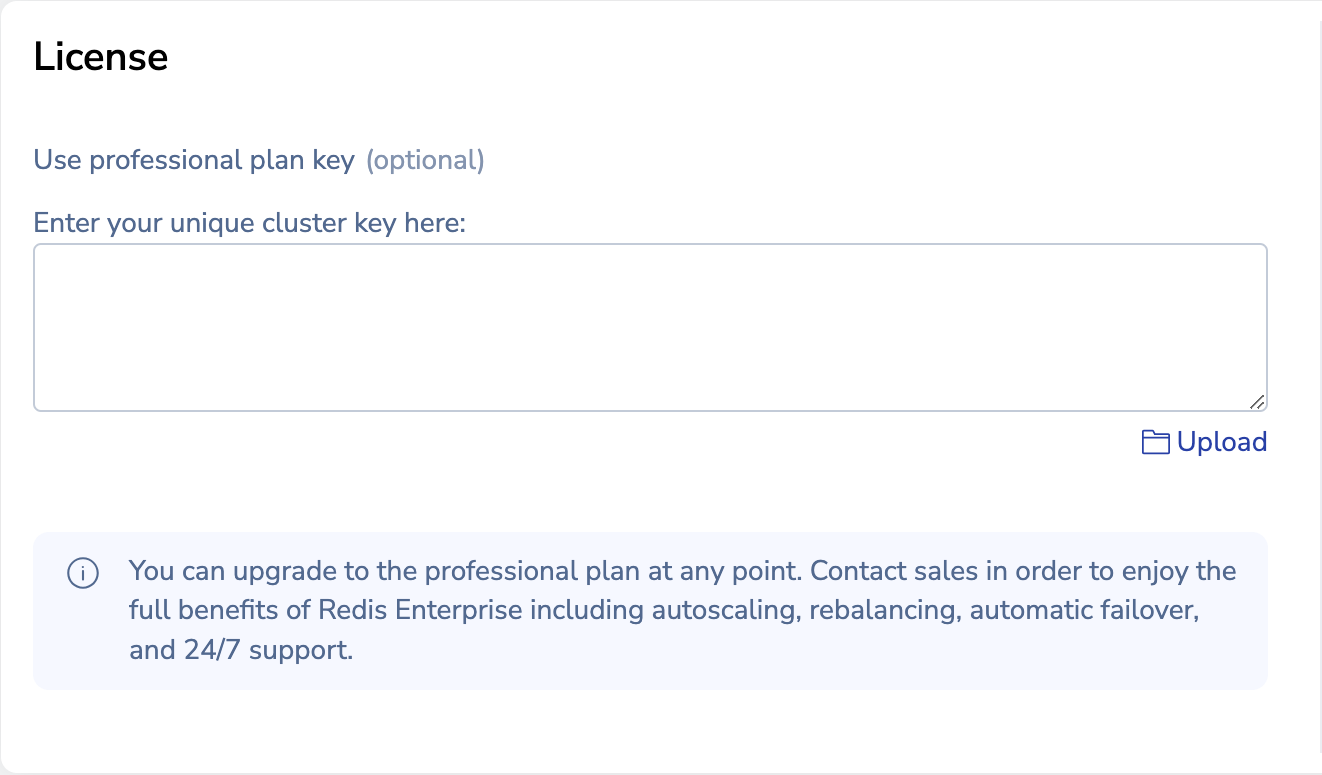
Enter your cluster license key if you have one. Otherwise, a trial version is installed.
In the Configuration section, enter a cluster FQDN such as
cluster.local, then select Next.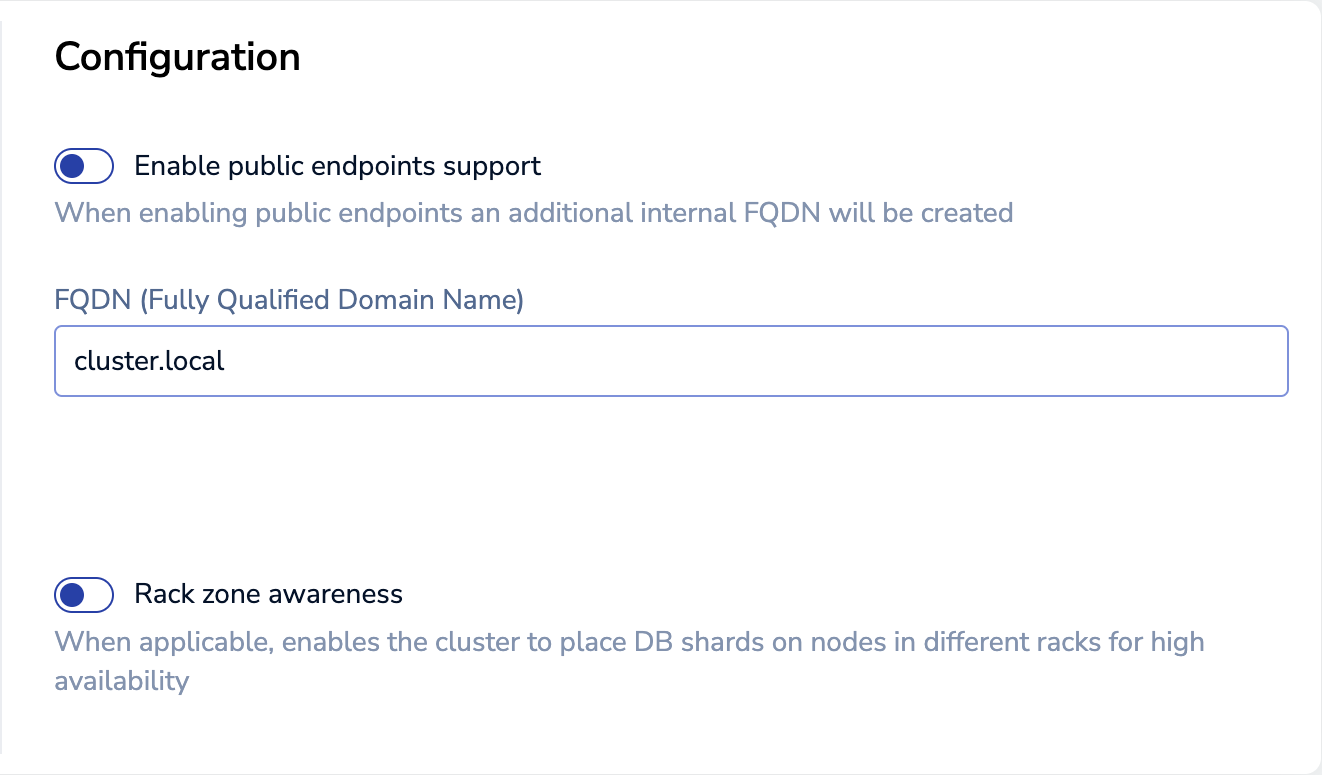 Warning -If the FQDN is
cluster.local, you cannot configure DNS. You cannot change the FQDN after cluster creation.On the node setup screen, select Create cluster to accept the defaults.
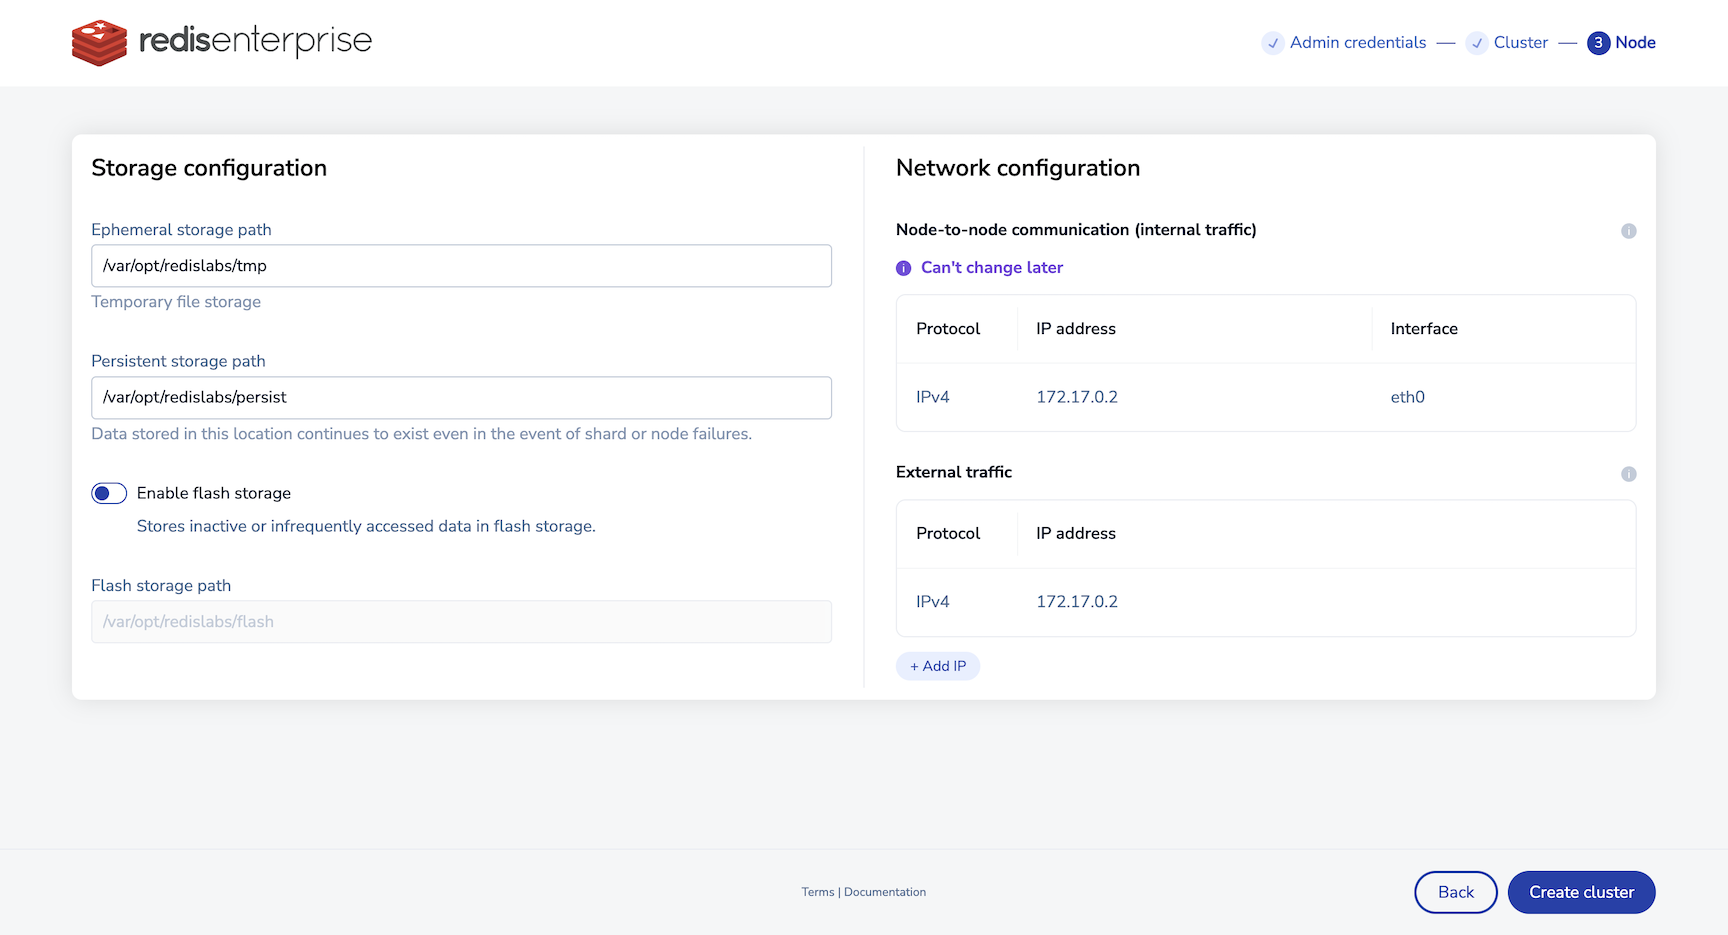
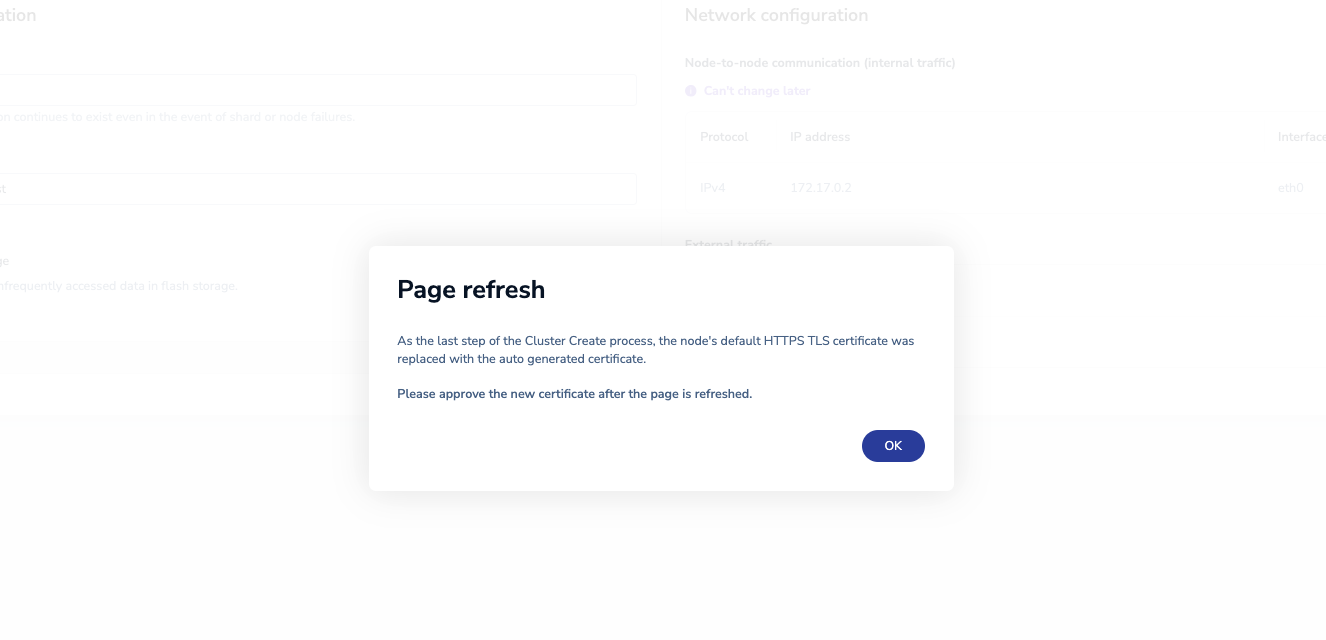
Select OK to acknowledge the replacement of the HTTPS TLS certificate on the node. If you receive a browser warning, you can proceed safely.
![]()