Remove a cluster node
There are various reasons why you may want to remove a node in Redis Enterprise Software:
- You no longer need the extra capacity, meaning you want to permanently remove the node.
- You would like to replace a faulty node with a healthy node.
- You would like to replace a healthy node with a different node.
The following section explains how each of these actions can be achieved, as well as their impact and considerations.
You can configure email alerts from the cluster to notify you of cluster changes, including when a node is removed.
Make sure to read through these explanations thoroughly before taking any action.
Permanently remove a node
Permanently removing a node means you are decreasing cluster capacity. Before trying to remove a node, make sure that the cluster has enough capacity for all resources without that node, otherwise you cannot remove the node.
If there is not enough capacity in the cluster to facilitate removing the node, you can either delete databases or add another node instead of the one you would like to remove.
During the removal process, the cluster migrates all resources from the node being removed to other nodes in the cluster. In order to ensure database connectivity, and database high availability (when replication is enabled), the cluster first creates replacement shards or endpoints on one of the other nodes in the cluster, initiates failover as needed, and only then removes the node.
If a cluster has only two nodes (which is not recommended for production deployments) and some databases have replication enabled, you cannot remove a node.
Replace a faulty node
If the cluster has a faulty node that you would like to replace, you only need to add a new node to the cluster. The cluster recognizes the existence of a faulty node and automatically replaces the faulty node with the new node.
For guidelines, refer to Replacing a faulty node.
Replace a healthy node
If you would like to replace a healthy node with a different node, you must first add the new node to the cluster, migrate all the resources from the node you would like to remove, and only then remove the node.
For further guidance, refer to adding a new node to a cluster.
You can migrate resources by using the rladmin command-line interface
(CLI). For guidelines, refer to rladmin command-line interface
(CLI).
Remove a node
To remove a node using the admin console:
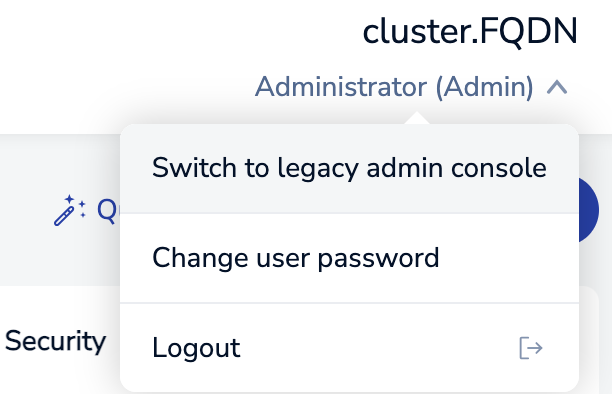
If you are using the new admin console, switch to the legacy admin console.
On the nodes page, select the node you want to remove.
Click Remove at the top of the node page.
Confirm you want to Remove the node when prompted.
Redis Enterprise Software examines the node and the cluster and takes the actions required to remove the node.
At any point, you can click the Abort button to stop the process. When aborted, the current internal action is completed, and then the process stops.
Once the process finishes, the node is no longer shown in the UI.
To remove a node using the REST API, use POST /v1/nodes/<node_id>/actions/remove with the following JSON data and the “Content-Type: application/json” header.
For example:
POST https://<hostname>:9443/v1/nodes/<node_id>/actions/remove
     "{}"